ArtsAutosBooksBusinessEducationEntertainmentFamilyFashionFoodGamesGenderHealthHolidaysHomeHubPagesPersonal FinancePetsPoliticsReligionSportsTechnologyTravel

How to Make a Fabric Avatar Postcard

Updated on June 15, 2013
Millionaire Tips profile image

A lover of arts and crafts, Shasta Matova enjoys making artistic, applique, pieced, traditional, miniature, modern, and crazy quilts.

Many people have glanced at my avatar here on HubPages and wondered how they too can make their own avatar out of fabric. Nobody asked me actually, but I am sure that is just because they thought it was a trade secret. I am here to ease your curiosity and show you just how easy it is to make your own.

My avatar is actually a fabric postcard. It fits U.S. federal requirement for mail and can actually go through the mail system. In fact, it has already been mailed off beyond and yonder. Since you are making it yourself, you can personalize it any way you want, and make it look like anyone you want. You can also make it so it doesn't resemble anyone you know.

Making avatars is just one way to personalize a fabric postcard, and even then, there are different ways to make them. The step-by-step directions in this hub show you how I made these fabric avatar postcards. They are fun and easy to make. They can be made with material that is readily available in most homes.

Let's get started, shall we?

Source
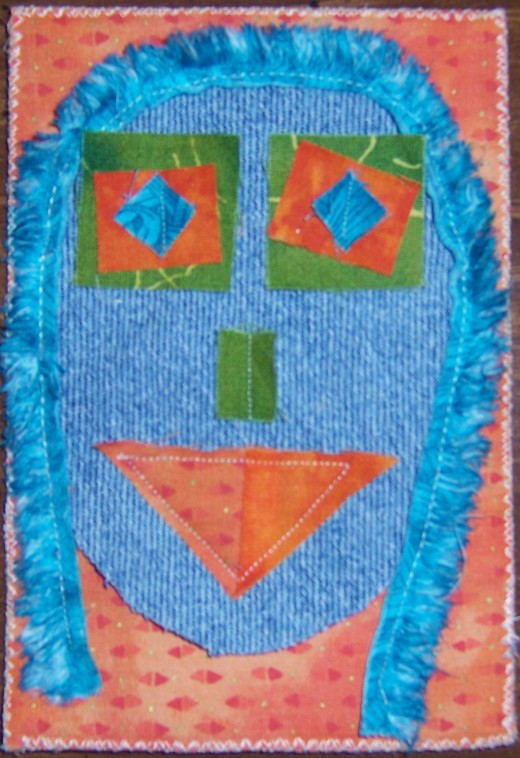
My Millionaire Tips avatar is a fabric postcard that was mailed to a friend.
My Millionaire Tips avatar is a fabric postcard that was mailed to a friend. | Source

What You Will Need to Make a Fabric Avatar Postcard

Fabric: You need two pieces of fabric that are 5" x 7". One will be used for the background for your avatar, although you can combine two to come up with that size. The other one needs to be a light color, since it is for the back of the postcard where you will be writing your message. You also need scraps of fabric for your avatar. My avatar is made from denim I cut out of jeans, and other fabric left over from quilting projects. You can buy fabric, or cut up some old clothes. Slippery material like nylon or polyester is harder to work with, so I try to use 100% cotton whenever possible.

Timtex: it is a thick pliable material that has the stiffness a postcard needs. Yes, I understand that not everyone has Timtex, but you can find other substitutes.

Adhesive: A spray fabric adhesive and /or Elmer's school glue stick will help you keep your fabric in place until you are done sewing it.

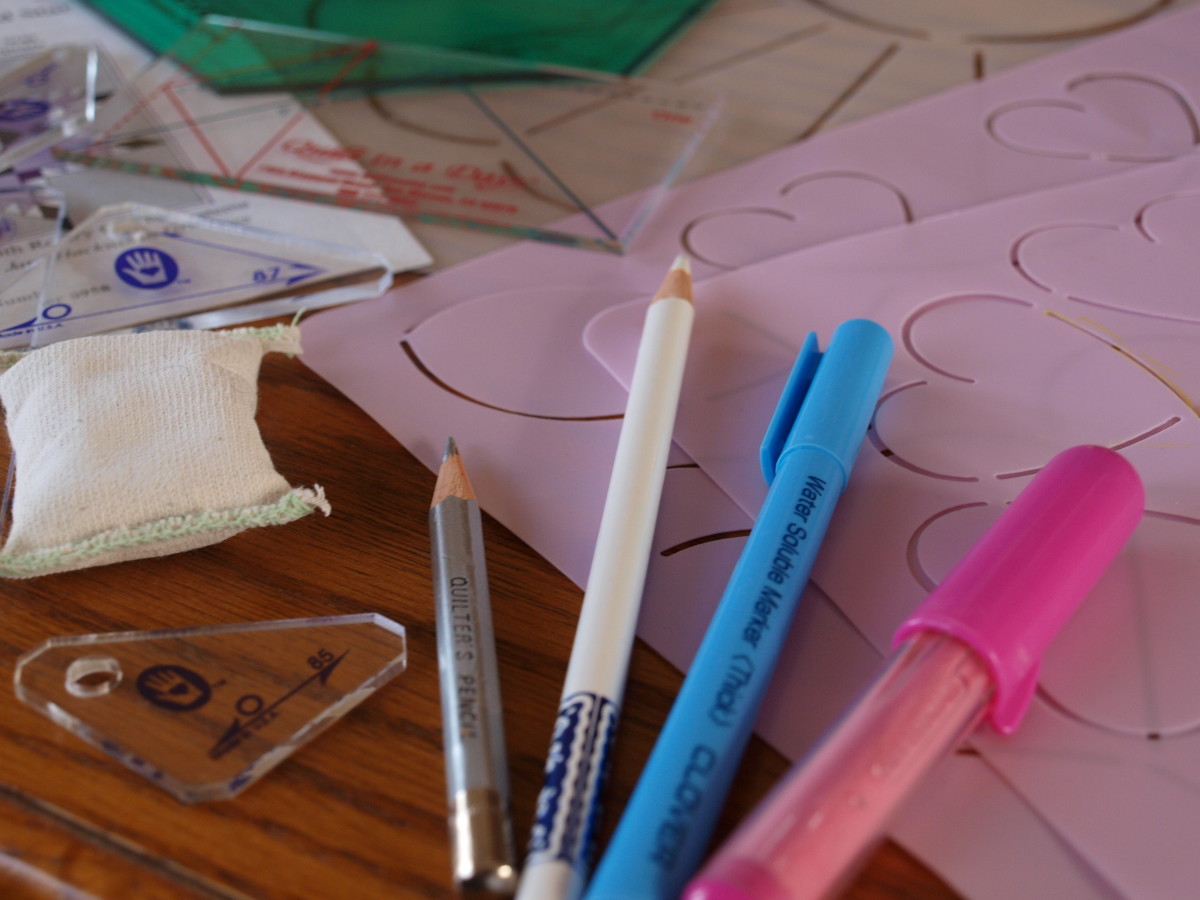
Cutting supplies: Scissors to cut the shapes out of the fabric. A rotary cutter, ruler and cutting mat is helpful to cut the fabric if you want straight pieces, and will ensure that the final size of the postcard is cut straight.

Needle and thread, preferably on a sewing machine, but you can make these by hand.

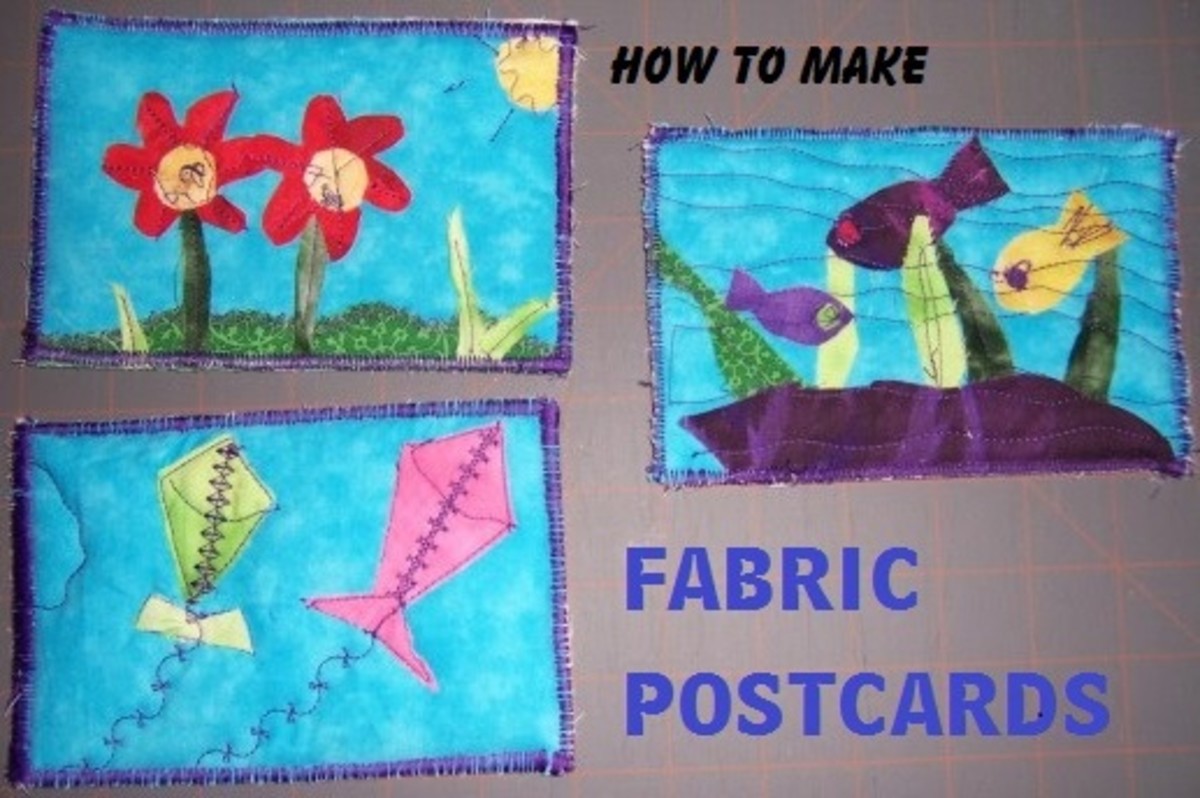
If you do not have all of the supplies listed here, please see my more general How to Make a Fabric Postcard for substitution ideas.

Source

Make Your Avatar for your Fabric Postcard

Having a rough plan is helpful to decide how to make your avatar. This will keep you from adding too many layers which might make the postcard too thick to fit in the postal guidelines. I prefer to do this in my head, because I prefer a casual, liberated style of quilting.

I like to start with a background piece of fabric. This piece of fabric is slightly larger than than the postcard, and will be trimmed to size at the end. 5" x 7" is a good size to start with. If you don't have one piece that is that big, you can combine fabrics to make your background. If you have more than one piece, you might as well make more than one postcard.


Cut out the shapes of your avatar. Add a face, nose, eyes, ears, hair, and anything else you want to add. Skip whatever you don’t want to add. Note that you are not limited to particular shapes, and they don't have to look like you unless you want them to. It probably will not come as a surprise to you that my face is not actually blue. My eyes are diamond shaped on my avatar, even though that does not describe most people's eyes.

I place all the shapes without any glue and make sure I am completely satisfied with the end result before securing it with glue.

These Photos Go with The Step by Step Directions Below

Click thumbnail to view full-size
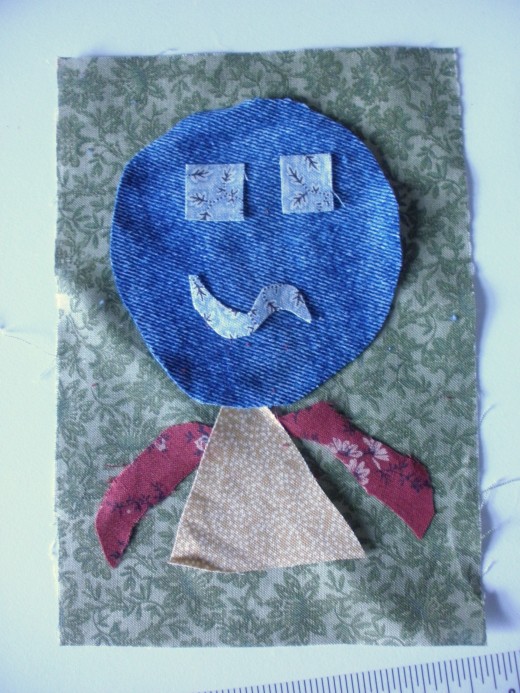
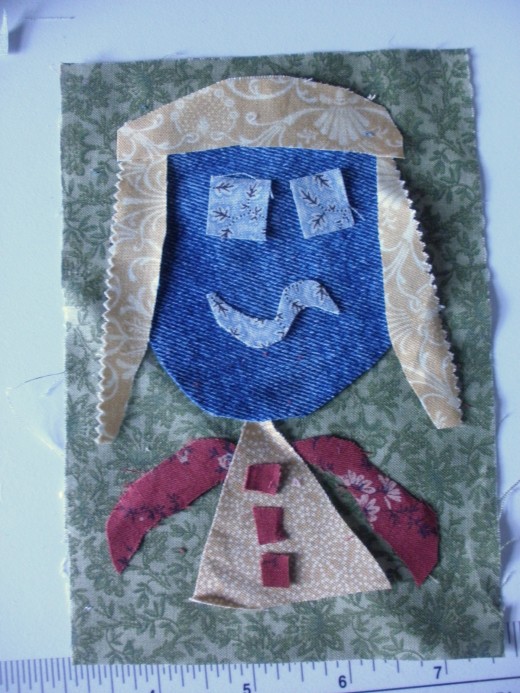
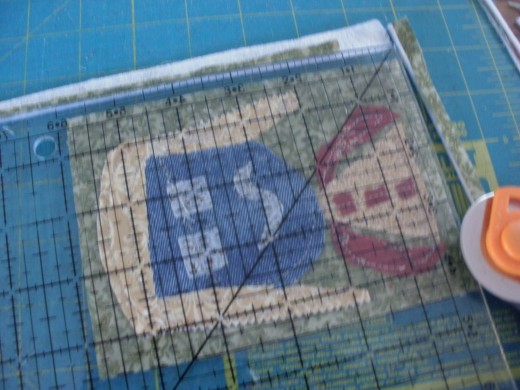
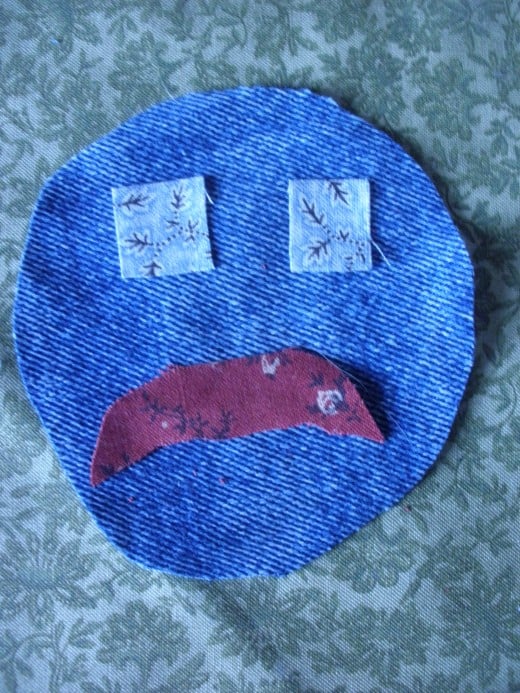
Don't be sad. You can make your own fabric avatar postcard. The face shape of the avatar is put on the background piece of the fabric postcard.  Try out different ideas until you are satisfied with the finished product. Note that both the eyes do not have to be the same size or shape.  Add a body if you like. Notice that my mouth in the previous picture is now an arm.Add as many details as you wish to your fabric avatar postcard. Then use a glue stick to hold down your pieces temporarily.  Attach the background to the Timtex, and sew down all the pieces.After you have attached the shapes by sewing them to the Timtex, it is time to add the backing and trim them up to the proper postcard size.Sew all around the edges using a zigzag or satin stitch.Don't forget to label your postcard.Here's the finished product.  A fabric avatar postcard ready to mail.Here she is again in better lighting.  Isn't she just adorable?
Don't be sad. You can make your own fabric avatar postcard. The face shape of the avatar is put on the background piece of the fabric postcard.  Try out different ideas until you are satisfied with the finished product.
Don't be sad. You can make your own fabric avatar postcard. The face shape of the avatar is put on the background piece of the fabric postcard. Try out different ideas until you are satisfied with the finished product. | Source
Note that both the eyes do not have to be the same size or shape.  Add a body if you like. Notice that my mouth in the previous picture is now an arm.
Note that both the eyes do not have to be the same size or shape. Add a body if you like. Notice that my mouth in the previous picture is now an arm. | Source
Add as many details as you wish to your fabric avatar postcard. Then use a glue stick to hold down your pieces temporarily.  Attach the background to the Timtex, and sew down all the pieces.
Add as many details as you wish to your fabric avatar postcard. Then use a glue stick to hold down your pieces temporarily. Attach the background to the Timtex, and sew down all the pieces. | Source
After you have attached the shapes by sewing them to the Timtex, it is time to add the backing and trim them up to the proper postcard size.
After you have attached the shapes by sewing them to the Timtex, it is time to add the backing and trim them up to the proper postcard size. | Source
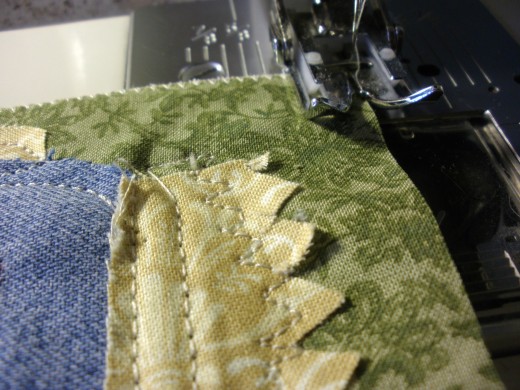
Sew all around the edges using a zigzag or satin stitch.
Sew all around the edges using a zigzag or satin stitch. | Source
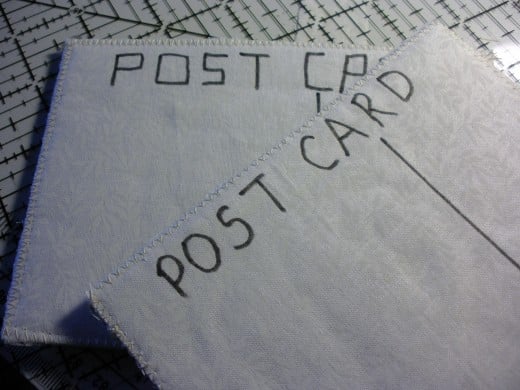
Don't forget to label your postcard.
Don't forget to label your postcard. | Source
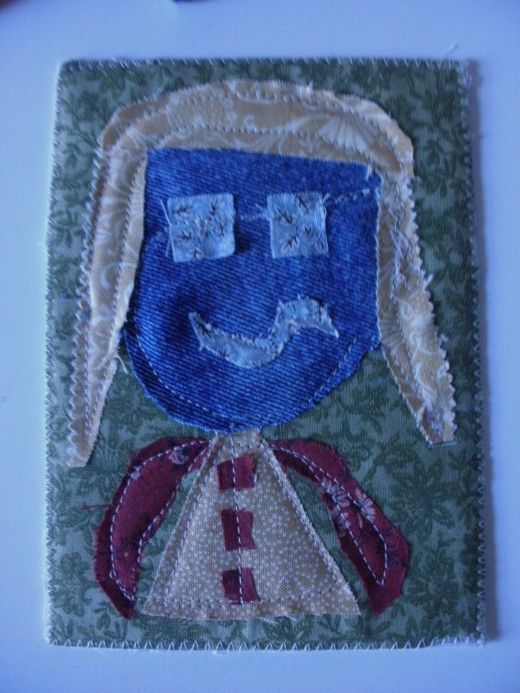
Here's the finished product.  A fabric avatar postcard ready to mail.
Here's the finished product. A fabric avatar postcard ready to mail. | Source
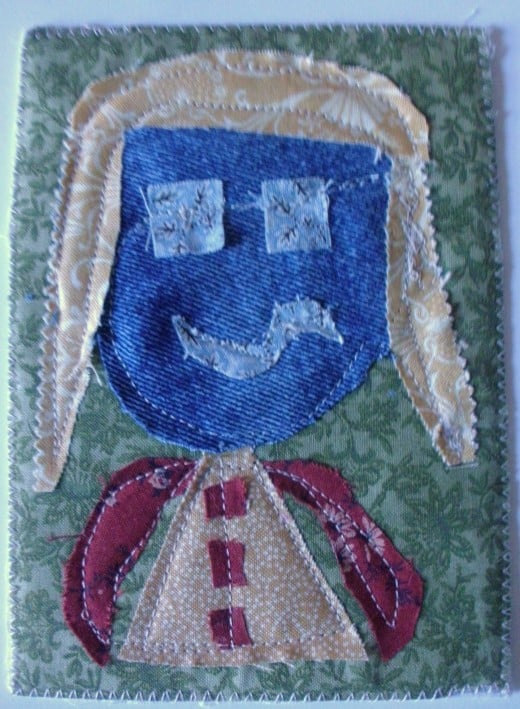
Here she is again in better lighting.  Isn't she just adorable?
Here she is again in better lighting. Isn't she just adorable? | Source

Securing Your Avatar to the Fabric Postcard

All of these little pieces are now on your background just the way you like it. You can now attach them to the background using a glue stick. If you placed a shape in the wrong place, there are no worries. Just pick it up and put it where it belongs.

Now it is time to start putting the layers together. Using the spray adhesive, attach the avatar background, right side out to the Timtex. Leave the backing off for now. Use a walking foot (or by hand) sew and secure the avatar fabric pieces to the backing and Timtex. You can go around the inside edge of each shape with a running stitch like I did, or you can use a buttonhole or satin stitch. You can also combine different shapes with a straight line through the middle. Because you will be mailing this, you don't want to leave too many edges sticking out, but if you choose to mail it in an envelope, or keep it at home, you can leave some edges artistically free.

Adding the Backing to your Avatar Fabric Postcard

Now that you have finished securing all of your pieces of your avatar, trim off any loose threads. You now want to apply the backing. This is where you will be writing your message, so it should be a light color. Using the fabric spray adhesive, attach your light fabric, right side out to your Timtex. If you can still see your stitching through the fabric, you could use two layers of the backing to cover the stitching.

You now have at least three layers, like a quilt: the background of your avatar, the Timtex and the backing. Trim them so they will fit the postal requirements. Here are the requirements, straight from the usps.gov site:

  • Price is less than a one ounce letter – uses Postcard stamp
  • Size requirements:
    • Minimum Size: 3-1/2 inches by 5 inches
    • Maximum Size: 4-1/2 inches by 6 inches
    • Thickness: 0.007 inch to 0.016 inch

I like to be safe and try to keep the size of my postcard somewhere in the middle, so it isn't get too close to either the minimum or maximum size.

Finishing up the Edges of your Fabric Avatar Postcard

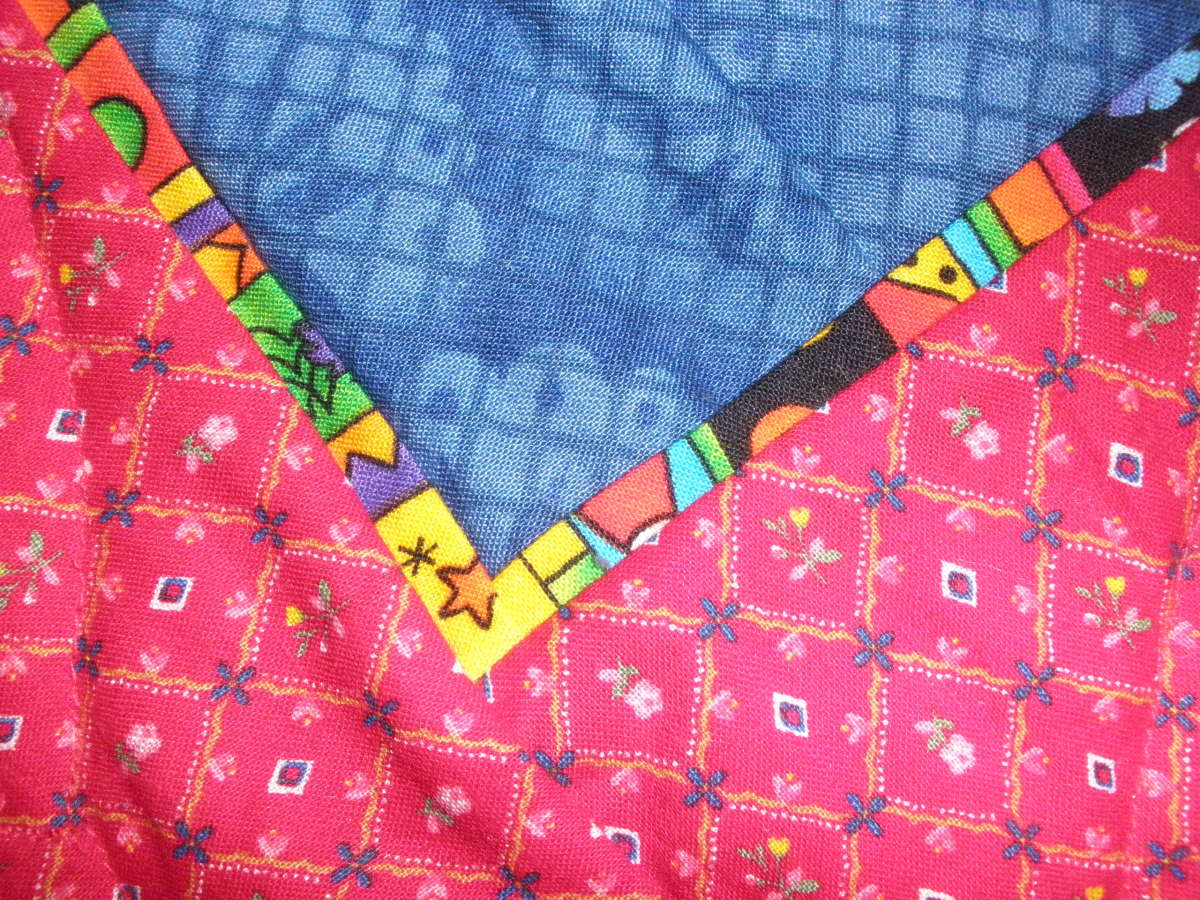
-Using a zigzag or satin stitch, sew around the entire edge of the postcard. This will hide all of your raw edges on the outside.

On the back of the card, the post office expects you to tell it what you made. Write the word "Postcard" in big letters.

Then you can write the address and message as you would on any other postcard.
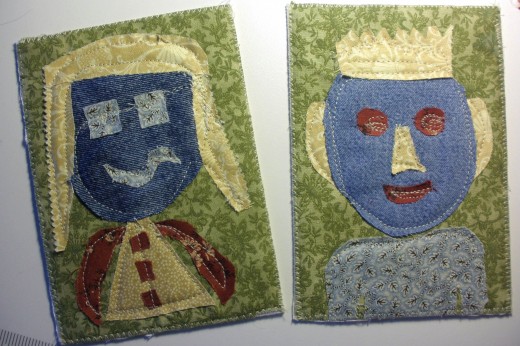
These fabric avatar postcards are so much fun to make, you may want to make more than one!
These fabric avatar postcards are so much fun to make, you may want to make more than one! | Source

Mailing Your Fabric Avatar Postcard

I recommend that you go to the post office for mailing. The post office clerk will appreciate seeing your beautiful work of art, and you will get to see her delight. She can also weigh it for you and let you know if it is light enough to use a postcard stamp. Most importantly, she can cancel your stamp by hand, so it doesn't have to go through the big bad machine that likes to eat up fabric postcards.

Source

Make a Fabric Avatar Postcard

Making a fabric avatar postcard is fun, and is a relatively quick project. It is a great group arts and crafts project. You can spend an afternoon creating these postcards using material and equipment you probably already have at home. You can mail them off to your friends and family who weren't there when you were making them, so that they too can share in the fun experience.
working

This website uses cookies

As a user in the EEA, your approval is needed on a few things. To provide a better website experience, hubpages.com uses cookies (and other similar technologies) and may collect, process, and share personal data. Please choose which areas of our service you consent to our doing so.

For more information on managing or withdrawing consents and how we handle data, visit our Privacy Policy at: https://corp.maven.io/privacy-policy

Show Details
Necessary
HubPages Device IDThis is used to identify particular browsers or devices when the access the service, and is used for security reasons.
LoginThis is necessary to sign in to the HubPages Service.
Google RecaptchaThis is used to prevent bots and spam. (Privacy Policy)
AkismetThis is used to detect comment spam. (Privacy Policy)
HubPages Google AnalyticsThis is used to provide data on traffic to our website, all personally identifyable data is anonymized. (Privacy Policy)
HubPages Traffic PixelThis is used to collect data on traffic to articles and other pages on our site. Unless you are signed in to a HubPages account, all personally identifiable information is anonymized.
Amazon Web ServicesThis is a cloud services platform that we used to host our service. (Privacy Policy)
CloudflareThis is a cloud CDN service that we use to efficiently deliver files required for our service to operate such as javascript, cascading style sheets, images, and videos. (Privacy Policy)
Google Hosted LibrariesJavascript software libraries such as jQuery are loaded at endpoints on the googleapis.com or gstatic.com domains, for performance and efficiency reasons. (Privacy Policy)
Features
Google Custom SearchThis is feature allows you to search the site. (Privacy Policy)
Google MapsSome articles have Google Maps embedded in them. (Privacy Policy)
Google ChartsThis is used to display charts and graphs on articles and the author center. (Privacy Policy)
Google AdSense Host APIThis service allows you to sign up for or associate a Google AdSense account with HubPages, so that you can earn money from ads on your articles. No data is shared unless you engage with this feature. (Privacy Policy)
Google YouTubeSome articles have YouTube videos embedded in them. (Privacy Policy)
VimeoSome articles have Vimeo videos embedded in them. (Privacy Policy)
PaypalThis is used for a registered author who enrolls in the HubPages Earnings program and requests to be paid via PayPal. No data is shared with Paypal unless you engage with this feature. (Privacy Policy)
Facebook LoginYou can use this to streamline signing up for, or signing in to your Hubpages account. No data is shared with Facebook unless you engage with this feature. (Privacy Policy)
MavenThis supports the Maven widget and search functionality. (Privacy Policy)
Marketing
Google AdSenseThis is an ad network. (Privacy Policy)
Google DoubleClickGoogle provides ad serving technology and runs an ad network. (Privacy Policy)
Index ExchangeThis is an ad network. (Privacy Policy)
SovrnThis is an ad network. (Privacy Policy)
Facebook AdsThis is an ad network. (Privacy Policy)
Amazon Unified Ad MarketplaceThis is an ad network. (Privacy Policy)
AppNexusThis is an ad network. (Privacy Policy)
OpenxThis is an ad network. (Privacy Policy)
Rubicon ProjectThis is an ad network. (Privacy Policy)
TripleLiftThis is an ad network. (Privacy Policy)
Say MediaWe partner with Say Media to deliver ad campaigns on our sites. (Privacy Policy)
Remarketing PixelsWe may use remarketing pixels from advertising networks such as Google AdWords, Bing Ads, and Facebook in order to advertise the HubPages Service to people that have visited our sites.
Conversion Tracking PixelsWe may use conversion tracking pixels from advertising networks such as Google AdWords, Bing Ads, and Facebook in order to identify when an advertisement has successfully resulted in the desired action, such as signing up for the HubPages Service or publishing an article on the HubPages Service.
Statistics
Author Google AnalyticsThis is used to provide traffic data and reports to the authors of articles on the HubPages Service. (Privacy Policy)
ComscoreComScore is a media measurement and analytics company providing marketing data and analytics to enterprises, media and advertising agencies, and publishers. Non-consent will result in ComScore only processing obfuscated personal data. (Privacy Policy)
Amazon Tracking PixelSome articles display amazon products as part of the Amazon Affiliate program, this pixel provides traffic statistics for those products (Privacy Policy)
ClickscoThis is a data management platform studying reader behavior (Privacy Policy)